In this article, we will show you how to upgrade to MultiVendorX PRO. We have a full video of the process here as well:
How to install MultiVendorX
- First, you need to purchase a license of MultiVendorX Pro.
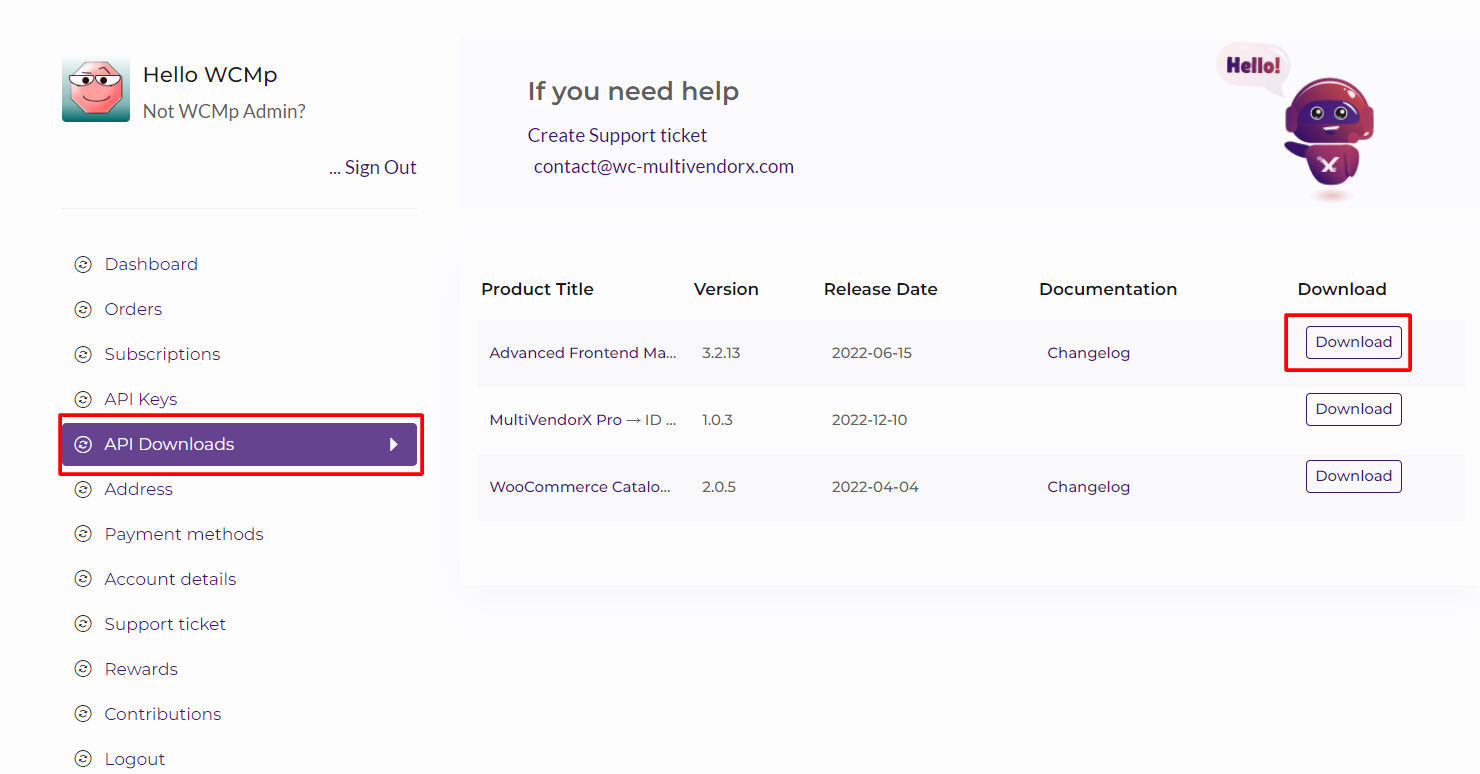
- Then download MultiVendorX Pro from your dashboard.
- After you’ve downloaded the MultiVendorX Pro edition, go to your WordPress dashboard > Plugins > Add New and install it. Then select Upload Plugin from the drop-down menu.
- By selecting the Choose file option, you may select the zip file that you downloaded. Then press the Install Now button.
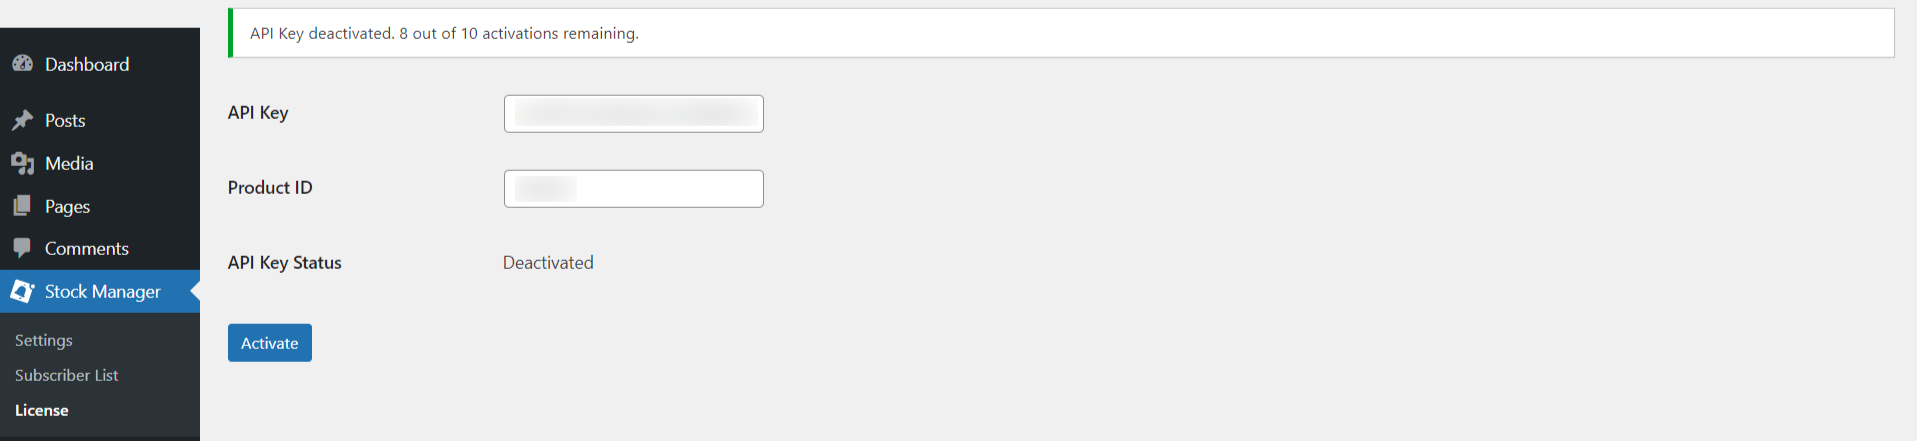
- To activate your license, navigate to WordPress Dashboard > MultiVendorX > License.
- Paste the API Key and Product ID that you’ve copied from the API Key tab on your My Account page.

- Finally, click the “Activate” button to complete the activation process.


Leave a Reply
You must be logged in to post a comment.