
")


Brief Introduction #
Do you know what the key to an up-and-rising business is? Communication. There is no replacement for communication in any business, even an online one. To make sure you have seamless communication with your vendors, MultiVendorX provides you with both the announcement and knowledgebase features. With these two features, you can write small messages, educational tutorials or any other important data you want your vendors to know.
Marketplace Configuration #
We will be dividing this article into two sections, the first half includes a step-by-step tutorial on how you can add new messages or tutorials to send your vendors, while the second part will include how vendors can access these messages.
Configure Announcement Feature #
To get started with your very own marketplace broadcasting feature let’s take a look at how to get started.
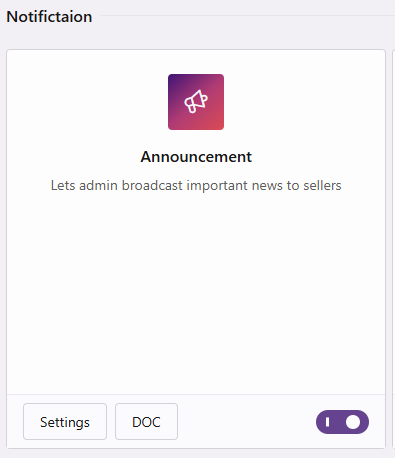
- For starters, go to the MultiVendorX plugin and select Modules displayed on the menu list.
- As soon as the Modules page appears scroll down to the Notifications section. From the list of modules available enable the announcement module.
- Once your announcement feature is activated, go to the workboard option of your MultiVendorX menu.
- After you get redirected to the Workboard page you will notice the announcement tab.
- Now that all basic steps are done simply select the add icon on the announcement page to add a new message
New Announcement #
Now that you know how to add an announcement, let’s see learn more about the announcement settings required to send new messages.
- Once you click on the add icon you will be teleported to the page where you can add your message.
- Here are a few things to add when sending your vendor a new message –
- Title – In the title section, add the headline of your announcement like new changes, site maintenance etc.
- URL – if the message is for all vendors, leave this section blank. But in case the news is for a specific vendor add the URL address of the said vendor’s store.
- Content – This section is where you can add the message or information you want to share with your vendor.
- Vendor – Leave this section untouched if the message is for all vendors. However, if the message is for a selected vendor, choose the vendor’s name from the drop-down list.
- Once all required information is added select the publish button. Selecting the publish button will ensure your vendors have received the announcement message.

Announcement List #
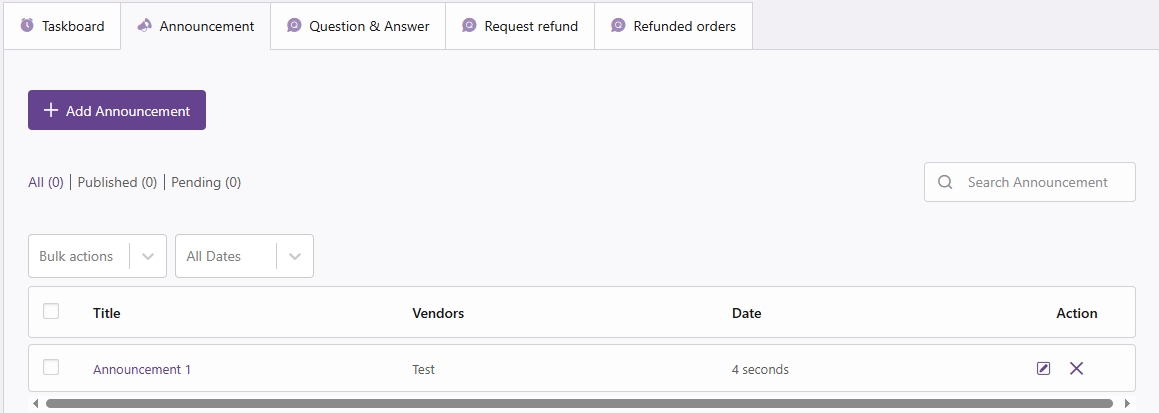
As you add new announcements to send to your vendors you will notice the announcement list or log. The announcement log basically records all announcements you have sent your vendors. Having a makes it so much easy to keep track of all your marketplace announcements. With that being said let’s take a look at the log sections and all the details you can get in a single glance.
- Title – The title will notify you about the basic crux of the announcement.
- Vendors – If the message is sent to specific vendors you will be able you see the name of that vendor here.
- Date – This column records the date on which the message was published.
- Action – Gives the option to either edit your announcement or delete them.
Vendor Configuration – Receiving Messages #
Vendor configuration doesn’t include much but reading the messages or tutorials sent by you. In this section of the article, we will tackle how vendors can access these messages.
View Message Broadcasts #
Once an announcement is posted vendor will receive the message you wish to convey to them on their dashboard. Let’s take a look at where they will find them.
- To ensure that vendors don’t miss crucial announcements sent by you we have added the announcement link to the dashboard page vendor store.
- Available on top of the dashboard is where vendors would find the announcement icon.
- Once they select the announcement icon, they can read the message sent to them.
- Based on the value of the message vendors can read, unread or delete the message.

Hope this tutorial was able to provide you with ample information on how to send messages to your vendors. However, if you still encounter an issue or have more questions flag them on our support forum.


