
")


Admin Configuration #
To setup vendor shipping details from the Admin dashboard, you can:
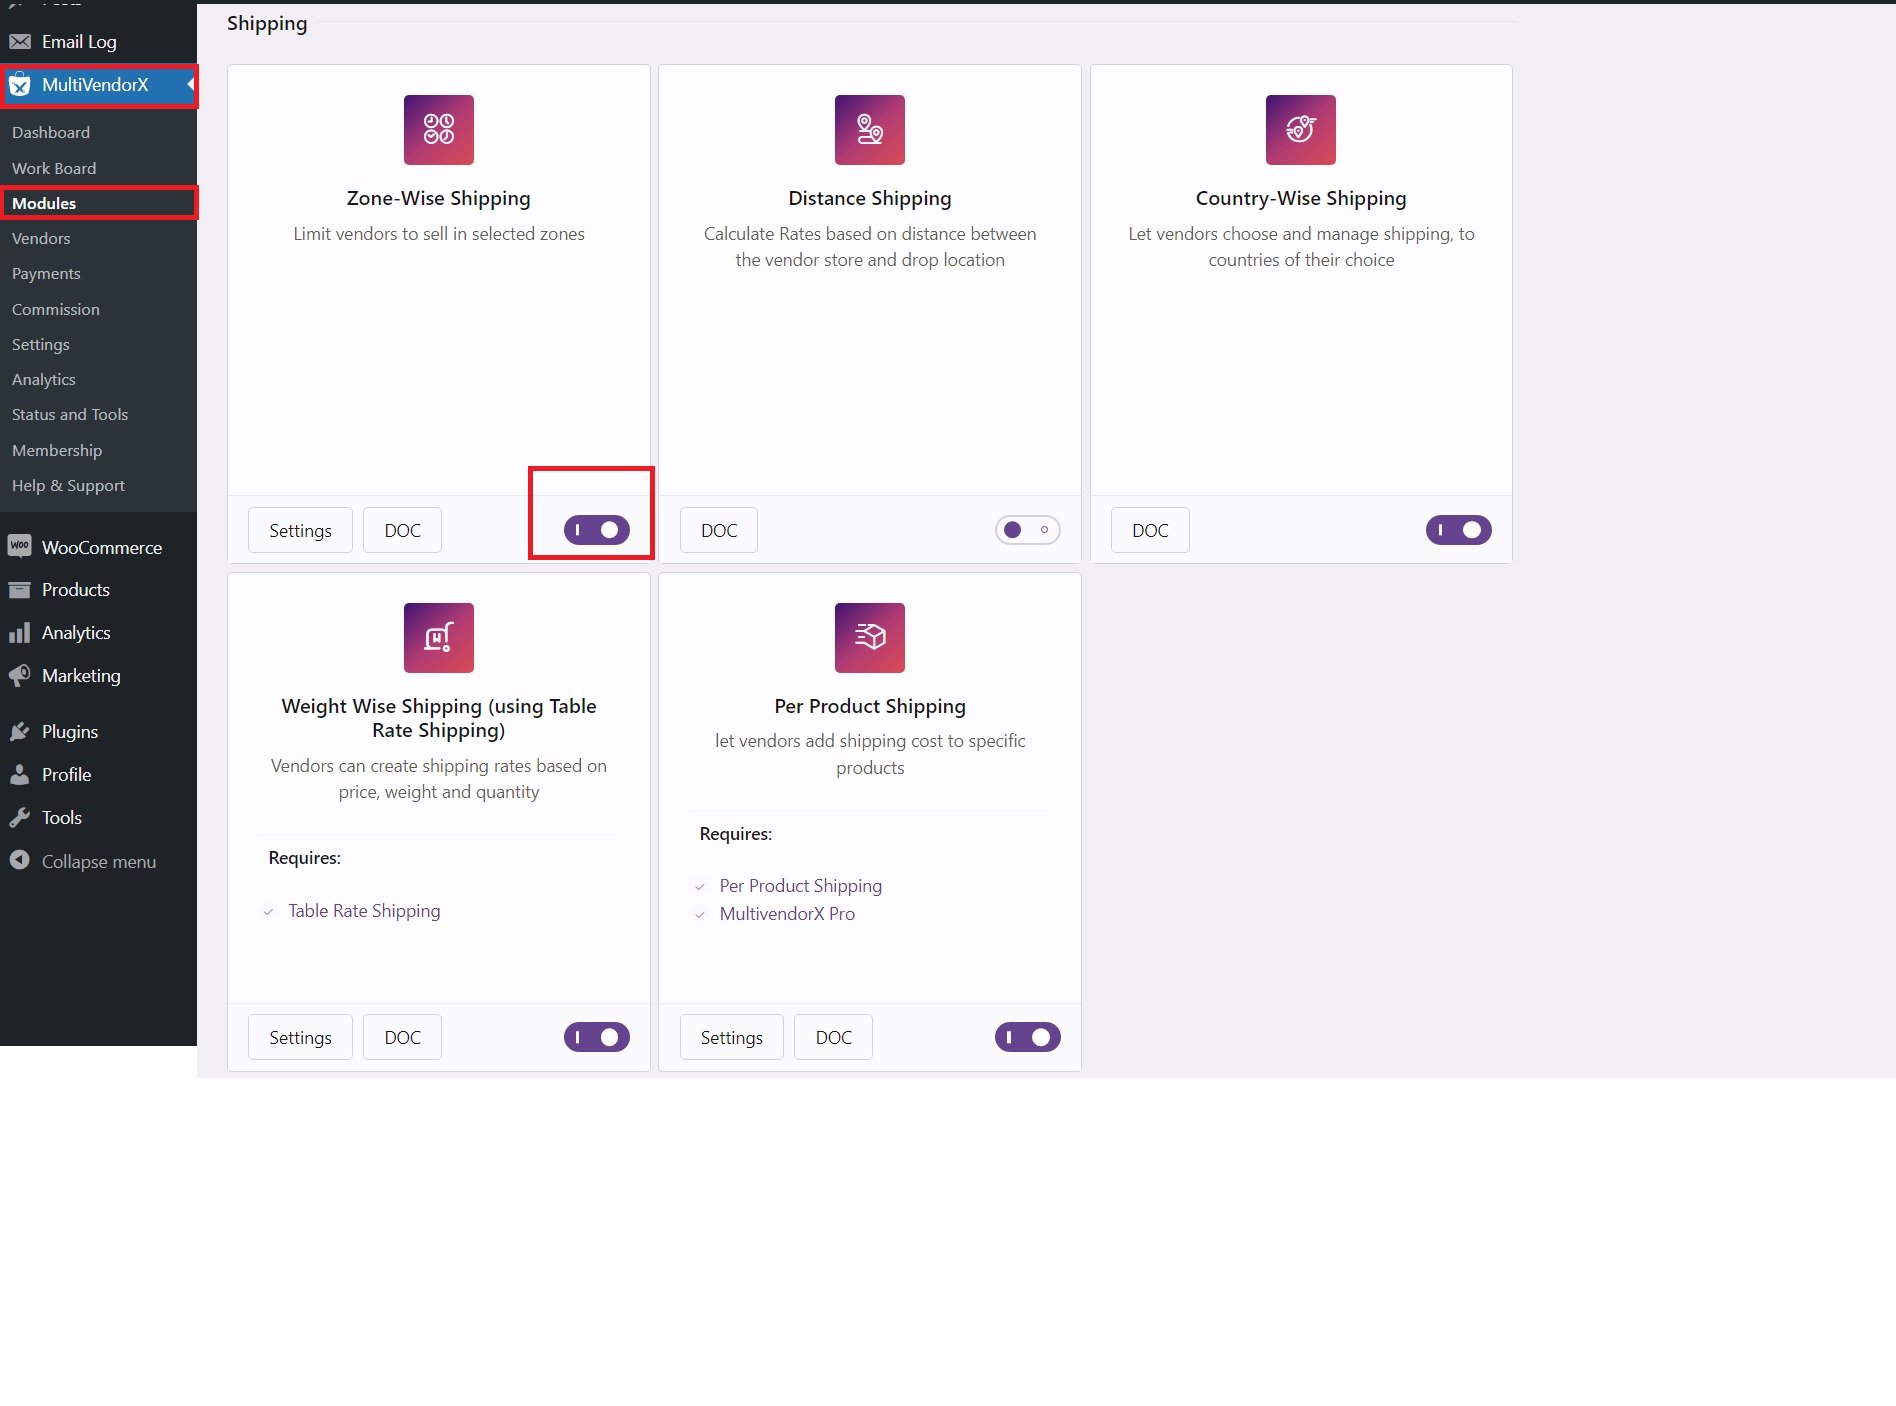
- Go to “Module” section of MultivendorX and then navigate to “Shipping”.
- Once in “Shipping” section, enable the option “Enable Zone Wise Shipping” & “Vendor Shipping”.
- Once this is activated, vendors can see this shipping option in their shipping settings.
- Now go to “Shipping” under Settings of Woocommerce and navigate to “Shipping Zones”
- Once in Shipping Zone page add the Shipping Zone and also add “vendor Shipping” as Shipping methods.
- Again go to the Admin dashboard and select the multivendor X menu option. Once the multivendor X menu pops up select the Vendor sub-menu option
- On the Vendors page, select the edit option available under name of the vendor whose shipping details you want to configure
- Once the selected vendor’s information page loads, select the Vendor Shipping tab
- Under the vendor shipping section, you can edit the vendor’s shipping information like:
- Zone Name – The country where the vendor is willing to ship his goods.
- Zone Region – the area or state where the vendor can ship his items
- Select Specific States- Provide the state names which you want to allow for your vendor.
- Set your Postcode- Provide the postal code of the area of shipping
- Shipping method – Shipping methods include flat rate, free shipping, and local pick up (the latter part of the document describes in details the shipping methods used by the vendor)
Vendor Configuration
The vendors can configure shipping from their dashboard. To configure shipping the vendor would have to –
- Go to Vendor’s Dashboard and click on the Store Settings option.
- From the list of Store Settings options select the Shipping option.
- Once the Shipping page loads, vendors can decide on their shipping zones (the vendor will be able to view all the zones you have added from the admin dashboard.)
- After selecting their preferred shipping zones, vendors can then decide their preferred shipping method. These shipping methods include Flat Rate, Free Shipping and Local Pick-up.
Flat Rate #
Flat Rate Shipping allows your vendor to define a standard rate per item, per shipping class or per order. Once vendor will select the Flat Rate option, you will get these fields :
- Enter a Title that displays to customers in checkout.
- Select Tax Status – Define whether or not tax is applied to the shipping amount.
- Enter Cost – This is applied to the entire cart. Add additional costs per item to this field, you need to configure Advanced Costs.
- Advance Cost : The Cost field allows you to charge a flat rate per item, a percentage-based cost or a minimum fee.
Available placeholders:
[qty] – Number of products in the cart
[fee] – An additional fee. This fee has two optional arguments.
percent – A percentage based on total order cost.
min_fee – A minimum amount. Useful when using percentages.
max_fee – A maximum amount. Useful when using percentages.
Examples
10 + ( 2 * [qty] ) – A base shipping cost of $10 plus $2 for each item in the cart.
20 + [fee percent=”10″ min_fee=”4″] – A base shipping cost of $20 plus 10% of the order total, which is at least $4.
- No Shipping Class Cost – Useful if you use the Per Class option below. Otherwise, use the Cost field.
- Calculation Type – Two options:
Per Order – Picks the most expensive option based on shipping costs in the cart.
Per Class – Charges shipping for each shipping class
Local Pick- up #
Local Pickup is a method that allows the customer to pick up the order themselves.
Free shipping #
Free shipping is a special method that can be triggered with coupons and minimum spending. Here the vendor can deliver customer’s goods without charging any shipping fees.


