
Brief Introduction #
Throw away the limitation of a language barrier with the latest WordPress Multilingual Plugin integration. With the addition of WPML to MultivendorX, vendors can add product information in various languages that can later be translated by customers with just one click.
Requirements #
A little about WordPress Multilingual Plugin #
WPML is a WordPress multilingual plugin that translates WordPress pages, posts, tags, categories, and themes into languages of choice. Apart from this admins get to manage, control and decide various settings related to site translation.
What does WordPress Multilingual Plugin add to your multi-vendor site? #
This multi-faceted multilingual plugin lets vendors create product descriptions in various languages available on an admin site. Apart from that WPML provides Admin various flexibilities required when managing site contents.
To know more about the WPML document read here.
WordPress Multilingual Configuration #
The WPML settings in probably one of the easiest settings of MultivendorX. Configuration on the admin’s side has to be mostly done by following the WPML documentation.
Enable Marketplace Plugin #
As mentioned there is hardly any MultiVendorX setting required to set up WPML. However, you will have to enable the WPML module to avail it’s features. To help you figure this out here are a few steps.
- To get started, go to your marketplace dashboard. From there select the MultiVendorX Plugin. As you hover your cursor over the plugin, the menu list appears.
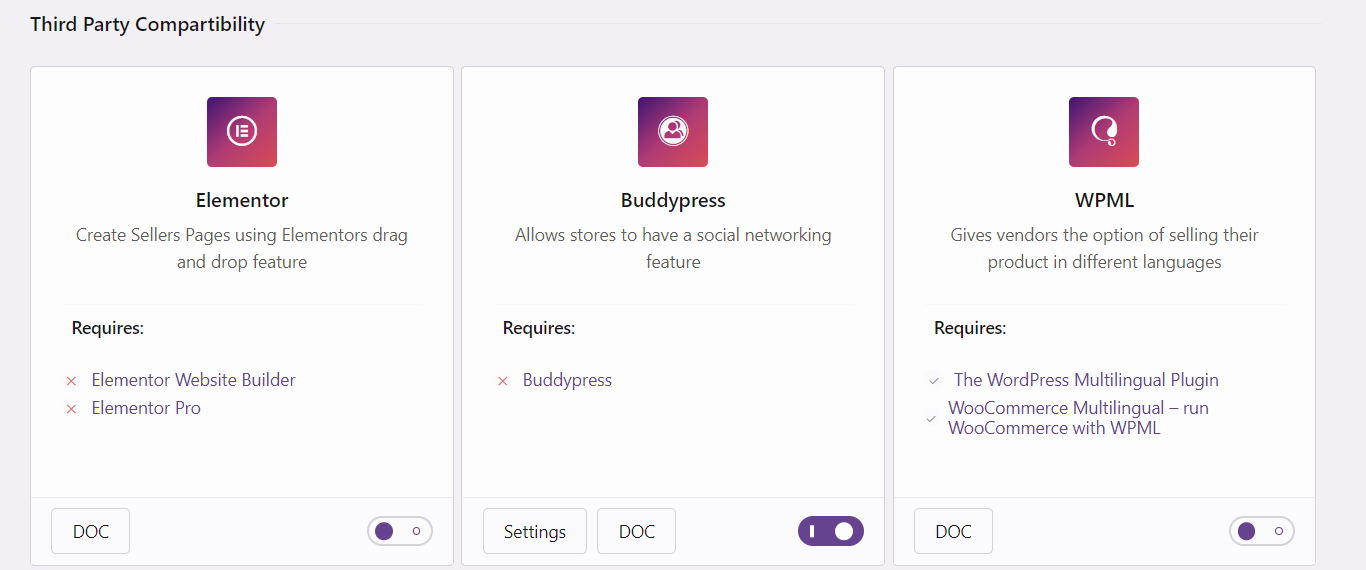
- Select Modules from the MultiVendorX menu list. Wait to get directed to the Module page before scrolling down to the 3rd Party Compatibility Section.
- Go to the WPML module, and check if all the supporting plugins are available. In case all conditions are met, you will notice a tick beside the supporting plugin options.
- Finally, enable the plugin to allow vendors to create translated pages.
| Note: Before we get started please keep in mind that you will have to create a translated version of each language for the New Product page. This is a basic function of every translation plugin. Automatic translations will occur only on the customers’ site that too if there is a translated version available. |
Add Product Data Translation #
To add product data in various versions that can later be translated by the customer, the vendor must –
- Go to the Vendor Dashboard and select Add New product or All Product Options. Add New Product button will let the vendor create new products whereas the All Product option will let vendors edit old product data.
- Once the new product page loads vendors can fill in product contents by following the simple product tutorial.
- Vendors can access the Translations Meta-box on the right side of the vendor screen after adding the product data in the basic language.
- In the Translation section, vendors can select languages of their choice and input product data in that language.
- Once all versions of the product data are written vendor can either submit or publish their product.
Translate Product Page #
To view products in the languages of choice customers simply have to select the language options available on the Admins Website. Once the customer clicks his/her chosen language the product data available automatically translates into the language chosen by the customer.
| Note: Product data will only be translated if the vendor has product data available in an alternate version. For example, if the vendor has a product written in English and French but not Italian the customer will only see the contents of the English version when he/she selects Italian as his/her website language. |
Hopefully, this tutorial will help vendors ease out the language barriers stopping him/her from venturing into the big wide world.


Leave a Reply
You must be logged in to post a comment.