


Brief Introduction #
Displaying the location of a product or store comes with numerous benefits. One such advantage is that if a store location is available, customers near or around the store can visit it. Another advantage is that if the store owner sells rental goods like motorcycles, customers can determine the area before picking them up. It even helps with distance-based shipping. No matter the reason, geolocation is an advantage that you should never pass up. And with the GeoMyWordPress integration, vendors can now display store or product locations in real-time.
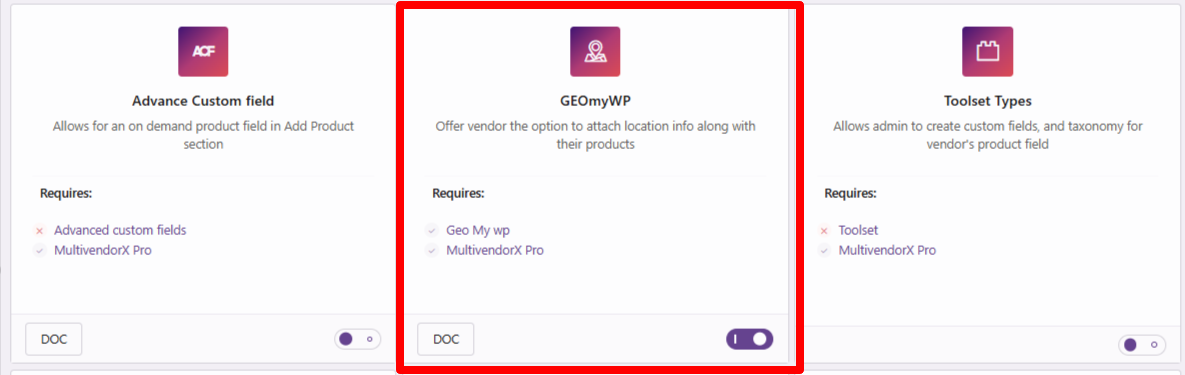
Requirements #
Overview #
- Learn how to configure product location
- Let vendors add the location of their store
A little about GeoMyWorkPress #
GEO my WP takes full advantage of the powerful features of Google Maps API. Using this plugin, you can accurately geolocate places, products, or events using Google Maps, address auto-complete, an auto-locator, and many other features.
What does GeoMyWP Add to MultiVendorX? #
The GeoMyWordPress plugin is an excellent tool that will let vendors add the location of their products on the map in real time. This way, customers can pick up products as needed. Apart from that, if the store is near the customer’s location, they can visit the store and look at other goods sold in the vendor’s store.
To learn more about GeoMyWP read this article.
GeoMyWordPress Configuration #
The configuration mentioned in this article will only focus on how to use GeoMyWordPress to allow vendors to add their products. But before getting started we must enable the GeoMyWordPress module.
Enable GeoMyWordPress #
Enabling the GeoMyWordPress plugin will only allow vendors to add the location of the products to Google Maps. So without further ado let’s jump into the configuration process.
- Go to the Admin dashboard and navigate to MultiVendorX. Once there go to the MultiVendorX menu that appears once you select the plugin.
- From the MultiVendorX menu list, select the Module option. As you select the Module option you shall be transported to the Module page.
- Scroll down to the Third Party Compatibility section and go to the GeoMyWP Module
- Tap on the enable key to activate the module. There you have it vendors can now actively add their location on the map.
GeoMyWordPress Setup #
The GeoMyWordPress settings need to be configured by going to the GeoMyWP plugin. As mentioned in this article we will only configure the section relevant to the marketplace. However, if you want to learn more about the GeoMyWP configuration, read this article. Now, let us move to the GeoMyWP settings –
- The first step as always includes going to the admin dashboard but instead of navigating to MultiVendorx, you will go to GeoMyWordPress Plugin.
- As you draw your cursor to the GeoMyWp plugin, the menu list would pop out, select the setting option from the menu list.
- Once you land on the Setting page, move to the Maps and Geocoders tab and add your Google API key. To learn how to get your API Keys, read this document.
- After you are done adding your API keys, you need to enable the Post Locator extension. Don’t worry is free and easy to access. You can access it by referring to reference image 2.
- As you activate the Post Locator, the Post locator tab will appear on the setting page.
- Select the Post Locator tab and click on the Post Types spacearea. Once you select the post type space a drop-down list appears. Select the Product Types option from the list. That it! don’t make any other changes unless required.
- With everything in place save your changes.
Add Product Location #
This section of the article explains how a vendor will add a location from the dashboard.
- Everything starts from the vendor dashboard. From the vendor dashboard vendors must select the Add Product option if it’s a new product or the all product option found under the product manager option if it is an old product.
- Selecting the Add product option will transport the vendor to the Product details page. Once all the product details are added as per requirement the vendor shall scroll down to the Geolocator meta box.
- On the Geolocator Meta box, the vendor needs to add the following details –
- Product location – Depends on the type of the products (some products may have different pick-up locations), but in most cases refers to the store location of the vendor.
- Address – The vendor must add the area in which he or she is located.
- Coordinates – The coordinates of the location appear as soon as the address is added. Vendors can also input coordinates separately in case google fails to locate the specific area of the store.
- Contact – The contact information of the vendors needs to be added here.
- Days and Hours – Here the vendor must add the store hours.
- Once all details are added and updated, the vendor can save and publish or submit the product.
With this, we come to the end of the tutorial. I hope you had no difficulty understanding the configuration process. But in case you stumble across one, feel free to contact our support team.


