
")


Table of Contents
Brief Introduction #
Localizing MultiVendorX is easy and straightforward, all you need is a translation file for your language.
You may create translations as has been outlined in the WordPress Codex, but the easiest possible way that we have found out for you is to use the Loco Translate plugin.
Creating Custom Translations #
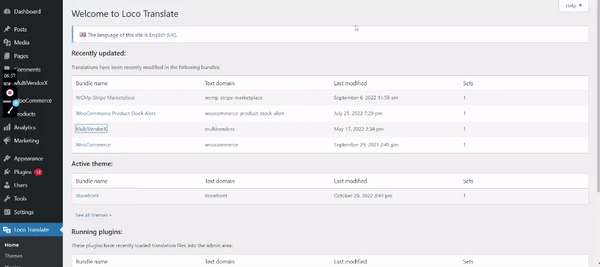
- Download, Install and Activate Loco Translate. On doing so, a menu item of the same name is created with five sub-sections. Take a quick look at Reference 1 for clearer understanding.
- Go to the Plugins section and select MultiVendorX. Grab a quick look at the screenshot below for better understanding.
- You can easily add new languages using the New Language link. Refer to the screenshot below for better understanding.
- Then choose the language to add in the list, or enter the language ISO code after selecting Custom Language if your language is not featured among the WordPress Languages. Take a look at Reference 3 for clearer understanding.
Note: Loco Translate offers 3 different locations. It is strongly recommended that you select Custom if you are looking to have your own custom translation while, you should avoid Author location since it’s inside the plugin and will override on updates, there is also the System location that will override by translations from translate.wordpress.org. - Click to Start Translating. The screenshot below will clarify the statements.
- Click on the Source Texts and add the translations.
- Lastly, click on Save to save your translations. For a clearer understanding refer to the screenshot below.
P.S. To send us your custom translation files, click on the PO and MO links and mail it to us at contact@multivendorx.com


