


Brief Introduction #
Booking appointments has never been easier. With MultiVendorX Pro, store owners can simplify online scheduling for products and services, accept payments through WooCommerce, automate booking workflows, and reduce no-shows using customer reminders.
Requirements #
Before using this feature, make sure you have:
Overview #
The Appointable Product module allows store owners to:
- Create appointment-based products.
- Configure appointment settings such as duration, pricing, and availability.
- Accept bookings from customers.
- Manage appointment schedules through the Store Dashboard.
Enable Appointment Products #
To allow store owners to create appointment products:
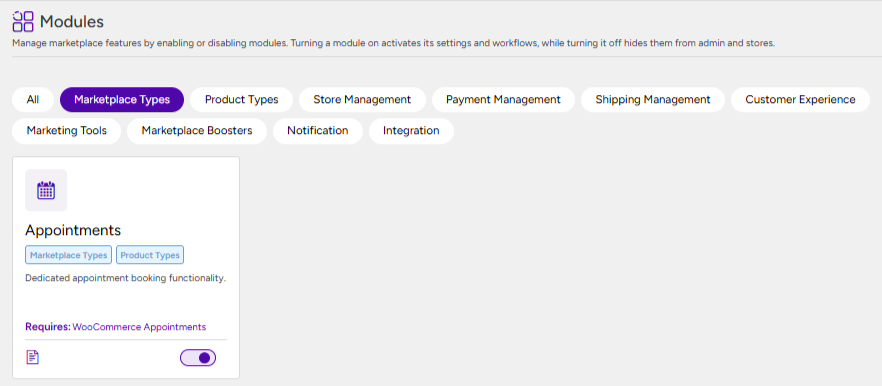
- Go to MultiVendorX → Modules.
- Enable the Appointment Product under the Marketplace types section.
Creating an Appointment Product from the Store Dashboard #
Once the administrator has enabled the Appointments module, store owners can create and manage Appointment Products directly from their Store Dashboard.
Create a New Appointment Product #
- Log in to the Store Dashboard.
- Navigate to Products → Add New.
- Under the Product Type dropdown, select Appointment Product.
Next, fill in the basic product details, including:
- Product Title
- Product Description
- Short Description
- Product Category
- Featured Image
- Product Gallery Images
After adding the basic information, configure the appointment-specific settings available in the Appointment and Availability Rules sections.
Appointment Settings #
The Appointment block allows you to configure how the appointment product behaves.
- Display Label Instead of Price – Enable this option if you want to display a custom text label instead of showing a fixed price for the appointment.
- Price Label – If Display Label Instead of Price is enabled, enter the custom text you want customers to see in place of the product price.
- Custom Pricing Rules – Enable this option to configure custom pricing rules based on your appointment requirements.
- Interval -Specify the frequency at which appointment slots are available for booking. This determines the gap between consecutive appointment slots.
- Duration – Set the length of time for each appointment.
- Requires Confirmation – Enable this option if appointments should require approval before they are confirmed. Customers will submit a booking request, which must be approved before the appointment is finalized.
- Can Be Cancelled – Enable this option to allow customers to cancel their appointments.
- Cancelled At Least – Specify the minimum amount of notice a customer must provide before the appointment start time in order to cancel the booking.
- Can Be Rescheduled – Enable this option if customers should be allowed to reschedule their appointments.
- Rescheduled At Least – Specify the minimum notice period required before an appointment can be rescheduled.

Availability Rules #
The Availability Rules section lets you define when appointments can be booked.
- Availability Check – Choose how the system should validate appointment availability when customers attempt to book a slot.
- Auto-select – Enable this option to automatically select the first available appointment slot for customers during the booking process.
- Restrict Start Days – Enable this option to limit bookings so that appointments can only start on selected days of the week.
- Add Range – Click Add Range to create custom availability rules. For each range, you can configure:
- Range Type
- Date or Time Duration
- Priority
- Inventory (if applicable)
- Appointment Availability
- This allows you to define exactly when appointments can or cannot be scheduled.

Publish the Appointment Product #
Once you have configured all the required appointment settings and completed the product details:
- Set the Product Status to Published.
- Click Save or Publish to make the Appointment Product available for customers to book.
Your Appointment Product is now live and ready to accept bookings.
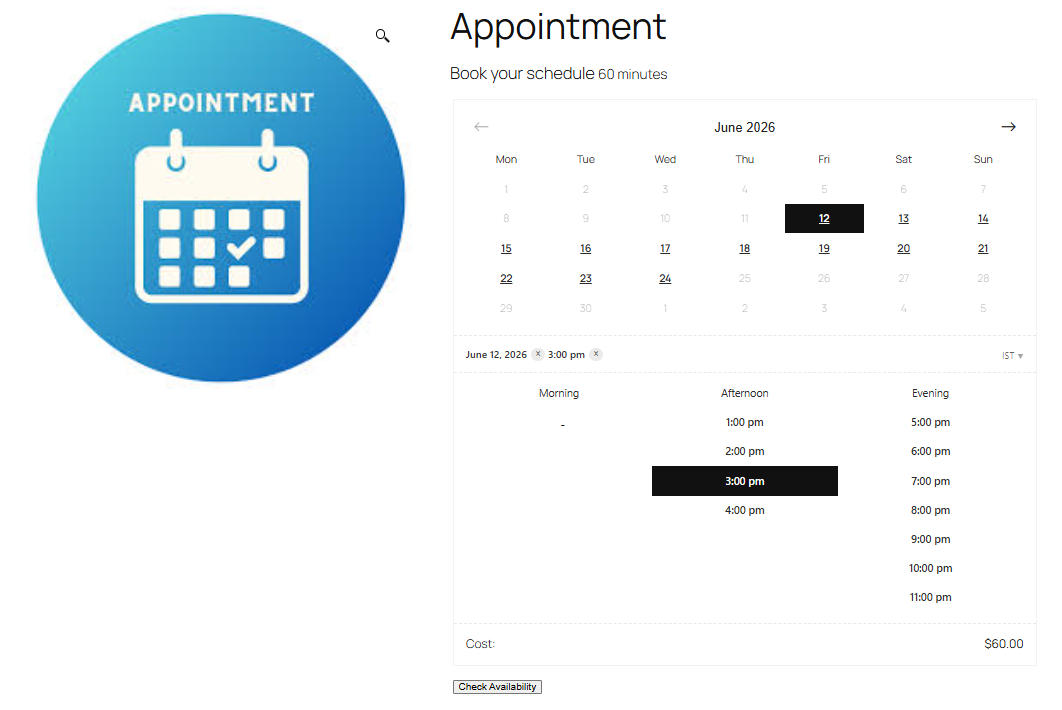
Appointment Booking Details #
Store owners can view and manage bookings for their appointment products directly from the Appointments section in the Store Dashboard.
- All Appointments: This section provides details about each appointment, allowing store owners to track and manage their scheduled bookings.
- Calendar: This provides an organized overview of upcoming bookings and helps store owners easily monitor their appointment schedule based on the selected dates.
Using these sections, store owners can efficiently keep track of all appointment bookings and manage their availability from a single place.


