


- How shipping works in MultiVendorX
- Enable the store shipping module
- Configure marketplace shipping settings
- Configure shipping methods
- Distance-based shipping
- Zone-based shipping
- Country-based shipping
- Shipping carriers and order tracking
- Configure shipping carriers
- How order shipping works
- Step 1: Store owner opens the order
- Step 2: Add shipment details
- Step 3: Mark the order as shipped
- Customer order tracking experience
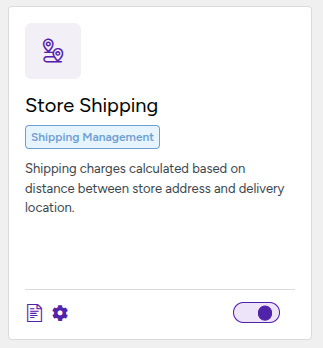
Store Shipping in MultiVendorX allows admins and store owners to configure delivery charges for products based on location, distance, country, or shipping zones.
Using this feature, store owners can manage their own shipping methods directly from their store dashboard, while admins can control shipping settings for the entire marketplace.
This guide explains the complete shipping workflow, from enabling the module to customer checkout.
How shipping works in MultiVendorX #
The shipping workflow in MultiVendorX follows a simple process:
- Admin enables the shipping module
- Admin configures marketplace shipping settings
- Store owners configure their store shipping rules
- Store owners add products and shipping settings
- Customers place orders
- Shipping charges are calculated during checkout
- Orders are processed with the selected delivery method
Enable the store shipping module #
Before shipping can be used in the marketplace, the admin must enable the Store Shipping module.
To enable the module #
- Go to MultiVendorX → Modules
- Open Shipping Management
- Locate Store Shipping
- Enable the module
Once enabled:
- Shipping settings become available for admins
- Store owners can manage shipping from their store dashboard
- Shipping methods can be configured for products
Configure marketplace shipping settings #
After enabling the module, the admin can configure shipping settings for the marketplace.
To access shipping settings #
Navigate to:
MultiVendorX → Settings → Shipping
From here, admins can control:
- Available shipping methods
- Shipping rules
- Delivery configurations
- Tax settings
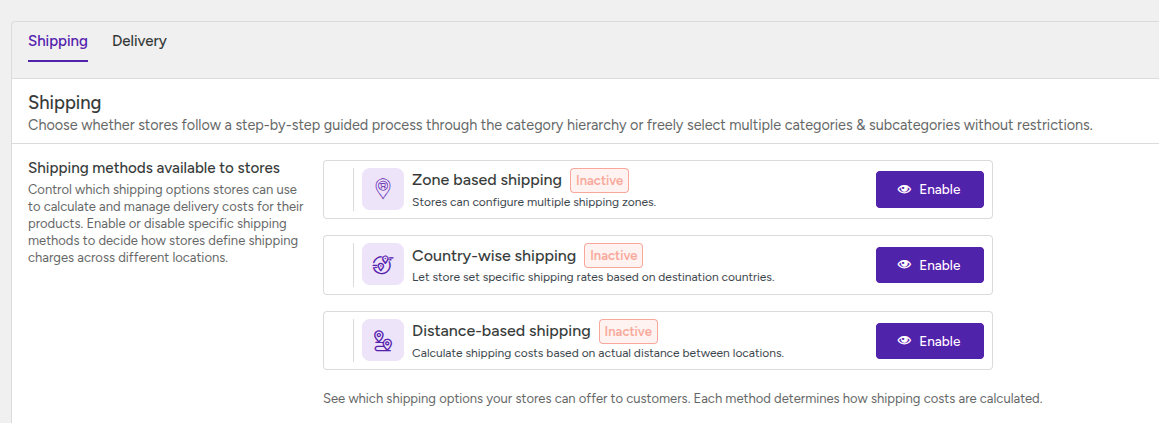
Configure shipping methods #
MultiVendorX supports different shipping methods depending on marketplace requirements.
Store owners can configure the shipping type that best fits their delivery process.
Distance-based shipping #
Distance-Based Shipping calculates delivery charges based on the distance between the store location and the customer delivery address.
Store owners can configure:
- Base delivery cost
- Cost per kilometer or mile
- Maximum delivery range
- Local delivery charges
For detailed setup instructions, refer to the Distance-Based Shipping documentation.
Zone-based shipping #
Zone-Based Shipping allows store owners to create separate shipping charges for different delivery regions or zones.
Example #
- Kolkata → $50
- Delhi → $100
- International Zone → $200
For detailed setup instructions, refer to the Zone-Based Shipping documentation.
Country-based shipping #
Country-Based Shipping allows different shipping charges for different countries.
This is useful for international marketplaces.
Example #
- India → $50
- China → $80
- Norway → $100
For detailed setup instructions, refer to the Country-Based Shipping documentation.
Once shipping methods are configured, store owners can add products and manage product-level shipping settings from the Product Shipping section. To ensure the correct shipping methods appear during checkout, products must be assigned to the appropriate Shipping Class created by the admin.
For detailed setup instructions, refer to the Shipping Classes documentation.
Shipping carriers and order tracking #
Shipping Carriers allow admins to control which shipping providers store owners can use while shipping customer orders.
Only the carriers enabled by the admin will be available for stores during shipment processing and order tracking.
This helps maintain consistent shipping management across the marketplace using trusted delivery providers.
Configure shipping carriers #
Admins can enable or disable shipping providers from the Shipping Carriers settings section.
Available shipping providers #
Some supported carriers include:
- Australia Post
- Canada Post
- City Link
- DHL
- Fastway South Africa
- FedEx
- OnTrac
- Polish Shipping Providers
- Testing
Only enabled carriers will appear for store owners while updating shipment details.

How order shipping works #
Once a customer places an order and the store owner prepares the shipment, the store owner can mark the order as shipped directly from the order management page.
Step 1: Store owner opens the order #
To update shipment details:
- Go to the Store Dashboard
- Open the Orders page
- Locate the required order
- Click the Truck icon
This opens the shipment tracking popup.
Step 2: Add shipment details #
Inside the popup, the store owner can enter shipment information.
Available fields
- Shipping provider – Store owners can select the shipping carrier from the enabled provider list. The available providers come directly from the Shipping Carrier settings configured by the admin.
- Date – Used to select the shipment date.
- Tracking URL – Used to add the shipment tracking link provided by the shipping carrier.
- Tracking number – Used to enter the shipment tracking number.
Step 3: Mark the order as shipped #
After entering the shipment details:
- Save the shipment information
- The order gets updated with tracking details
- The order shipping status is updated

Customer order tracking experience #
Once shipment details are added:
- Customers receive the tracking information
- The tracking URL becomes available for the order
- Customers can track shipment progress directly from the provided tracking link
This helps customers stay updated about delivery status after the order has been shipped.


