


Brief Introduction #
In any marketplace, verifying identity is crucial to build trust, prevent fraud, and ensure compliance with basic regulatory and operational standards. Without proper verification, platforms often face issues like fake listings, misuse of the system, and reduced customer confidence.
MultiVendorX Pro addresses this with its Marketplace Compliance module, which includes Seller Identity Verification to help marketplace owners validate store owners before they start selling. This ensures a safer, more transparent, and trustworthy marketplace ecosystem for both buyers and store owners.
Requirements #
Configuration from the Admin Dashboard #
To configure Seller Identity Verification, you first need to enable the Marketplace Compliance module in MultiVendorX.
Enable the Marketplace Compliance Module #
- Log in to your WordPress Admin Dashboard.
- Navigate to MultiVendorX from the left-hand menu.
- Click on Modules.
- Under the Marketplace Boosters section, locate the Marketplace Compliance module.
- Enable the module and save your changes.
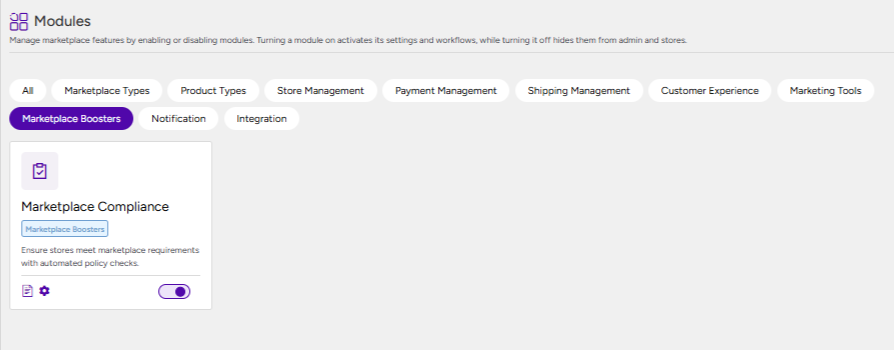
Once the module is enabled, you can proceed with configuring the Seller Verification feature.
Configure Seller Verification #
- Go to MultiVendorX → Settings → Privacy & Compliance.
- Open the Compliance Management section.
- Enable the Seller Verification option.
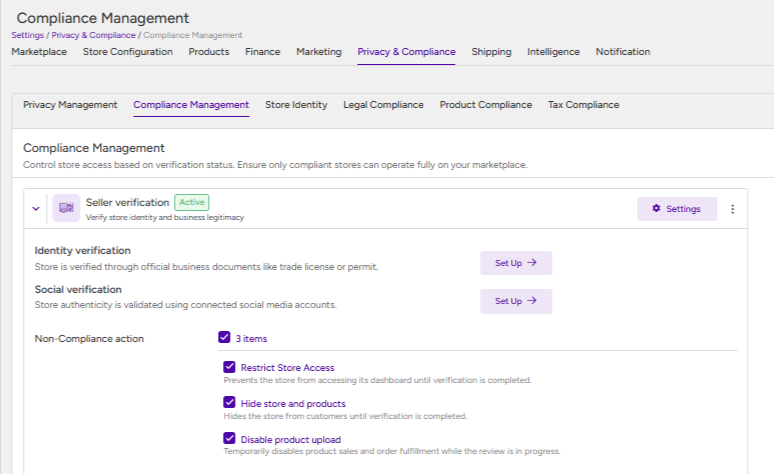
After enabling Seller Verification, you can configure the following settings:
Identity Verification #
Identity Verification allows marketplace owners to verify store owners by requesting identity documents before granting verified status. This helps ensure that only genuine store owners operate within the marketplace.
To configure Identity Verification, click the Set Up button next to the Identity Verification option under Compliance Management. This will redirect you to the Store Identity section, where you can configure the following settings:
- Verified Badge – Select a badge to display next to verified store names.
- Verification Methods – Add the verification documents that store owners must submit for identity verification. You can define multiple document types based on your marketplace requirements.

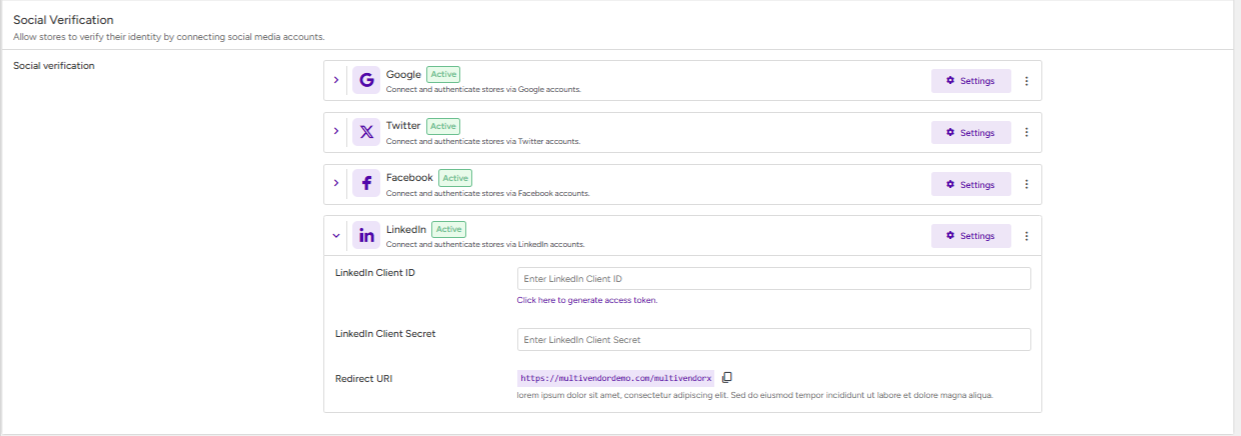
Social Verification #
Social Verification helps validate store authenticity through connected social media accounts.
To configure Social Verification, click the Set Up button next to the Social Verification option. This will redirect you to the Social Verification section under Store Identity, where you can enable and configure the following verification methods:
- Google – Enter the Google Client ID and Google Client Secret, and configure the redirect URL in your Google application settings.
- Twitter – Enter the Twitter API Key, Twitter API Secret Key, and Bearer Token to enable Twitter verification.
- Facebook – Enter the Facebook App ID and Facebook App Secret to enable Facebook verification.
- LinkedIn – Enter the LinkedIn Client ID and LinkedIn Client Secret, and configure the redirect URL in your LinkedIn application settings.
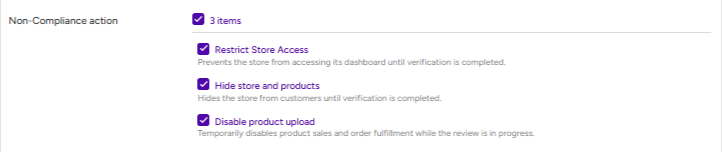
Non-Compliance Actions #
Non-Compliance Actions determine what happens when a store owner does not complete the required verification process.
You can choose from the following actions:
- Restrict Store Access – Prevents the store owner from accessing their dashboard until verification is completed.
- Hide Store and Products – Hides the store and its products from customers until verification is approved.
- Disable Product Upload – Prevents the store owner from uploading new products while the verification process is pending.
These actions help maintain marketplace standards and encourage timely completion of the verification process.
Verification Process from the Store Dashboard #
Once Seller Verification has been enabled by the marketplace administrator, store owners must complete the required verification process from their dashboard.
To begin, the store owner should navigate to Compliance → Verification from the store dashboard menu.
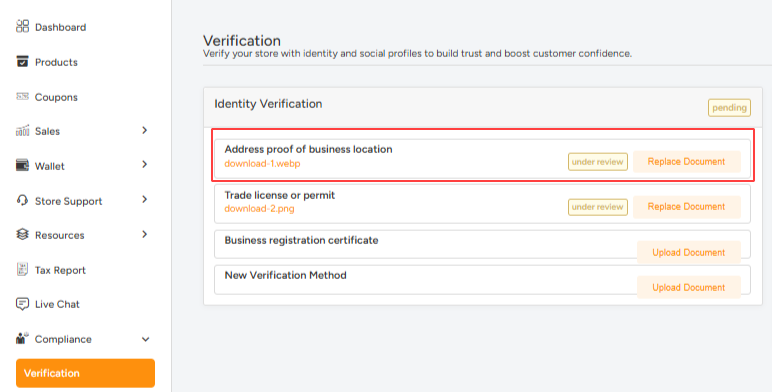
Identity Verification #
Under the Identity Verification section, store owners can upload the required verification documents as configured by the marketplace administrator. Once submitted, the documents will be sent for review and approval.
Social Verification #
Under the Social Verification section, store owners can connect their social media accounts by clicking the Connect button beside each available verification method. They can then follow the authentication process to verify their social profiles.

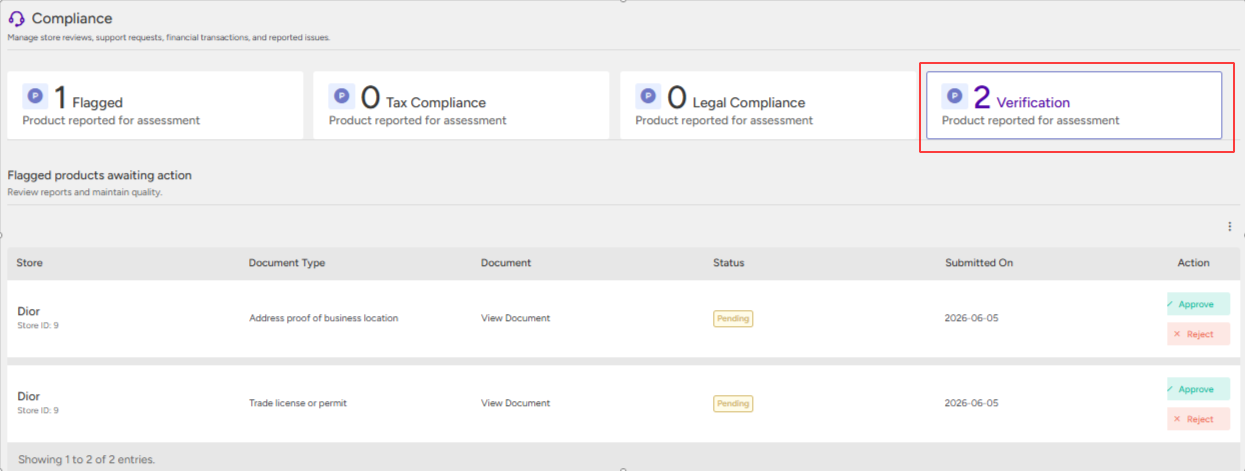
Verification Approval from the Admin Dashboard #
Once store owners submit their verification documents, the marketplace administrator must review and approve the submitted information.
To manage verification requests, navigate to MultiVendorX → Compliance → Verification from the WordPress Admin Dashboard.
Here, you will find all verification submissions from store owners, including uploaded documents and verification details. The administrator can review each submission and take the appropriate action by either:
- Approving the verification request, granting the store verified status.
- Rejecting the verification request if the submitted information does not meet the marketplace requirements.
This review process ensures that only verified and authentic store owners receive verified status within the marketplace..
Once a store owner’s verification request has been approved by the marketplace administrator, the verification badge selected in the Store Identity settings will be displayed next to the Sold By store name on the frontend.
This badge helps customers easily identify verified stores, enhancing trust and credibility within the marketplace.


