





Brief Introduction #
The setup wizard helps you configure the basic structure of your marketplace in a few simple steps. It guides you through key decisions such as the type of marketplace you want to build, how stores sell listings, how commissions work, and when stores receive their earnings.
These settings prepare your marketplace for stores and customers. You can update them later from the admin settings if needed.
Multivendor X Admin Setup Wizard Guide #
Step 1: Choose your marketplace structure #
In this step, you define the foundation of your marketplace and how stores will create and sell listings.
What kind of marketplace you are building #
Select the type of marketplace you want to create. This helps configure the appropriate features and workflows.
- Product marketplace
Stores sell physical or digital products. - Rental marketplace
Stores rent products or assets for a specific duration. - Auction marketplace
Listings are sold through bidding and the highest bidder wins. - Subscription marketplace
Stores offer products or services on a recurring subscription. - Service marketplace
Stores offer services that customers can purchase or book.
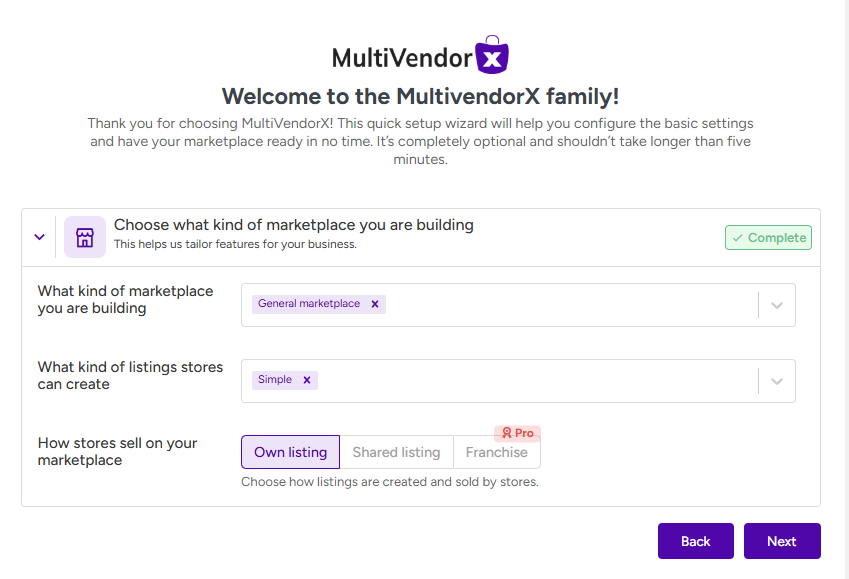
What kind of listings stores can create #
Choose the type of listings stores will add to your marketplace.
- Product listing – Stores list items with price, images, and inventory for customers to purchase.
- Rental listing – Stores list items available for rent with selectable rental dates.
- Auction listing – Stores create listings where customers place bids.
- Service listing – Stores offer services that customers can purchase or book.
- Subscription listing – Stores offer products or services billed on a recurring basis.
How stores sell on your marketplace #
Choose how listings are owned and sold by stores.
- Individual listings – Each store creates and sells its own listings.
- Shared listings – Multiple stores can sell the same listing.
- Franchise (Pro) – Listings are centrally managed but sold by multiple franchise stores.
Step 2: Store registration approval #
Choose how new stores are approved before they can start selling.
- Manual approval
You review and approve each store registration. - Automatic approval
Stores are approved instantly after registration.

Step 3: Commission and store earnings #
This step defines how the marketplace earns commission and when store earnings are added.
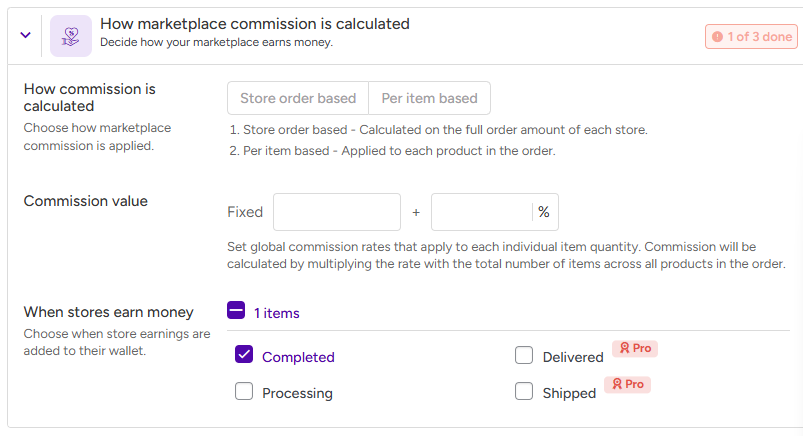
How commission is calculated #
Choose how the marketplace commission is applied to store orders.
- Store order based
Commission is calculated on the total order value of each store. - Per item based
Commission is calculated separately for each product in the order.
Commission value #
Set the commission rate applied across the marketplace.
- Fixed
A fixed amount is charged as commission per item. - Percentage (%)
A percentage of the sale price is taken as commission.
When stores earn money #
Choose when store earnings are added to their wallet.
- Completed
Earnings are added when the order is marked as completed. - Delivered
Earnings are added when the order is delivered to the customer. - Processing (Pro)
Earnings are added when the order enters processing status. - Shipped (Pro)
Earnings are added when the order is shipped.
Step 4: Advanced commission setup #
Click Setup to open the advanced commission settings page and configure more detailed commission rules.
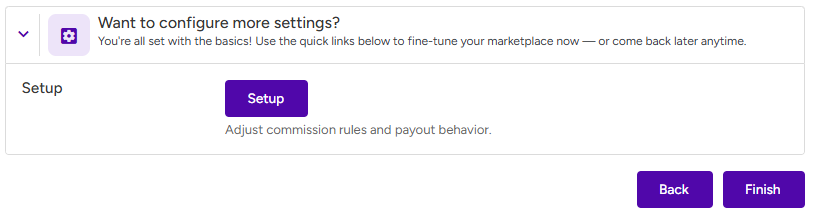
From this page you can:
- Create store-specific commission rules
- Configure different commission rates
- Customize payout behavior
- Adjust earnings conditions
Once the setup wizard is completed, your marketplace will be ready to accept store registrations and begin selling.